Showing posts with label Mexican Stars. Show all posts

Tuesday, February 2, 2016

My New Design Wall

I have wanted a design wall for a long time...probably forever!!!  Since setting up my new sewing room last Summer, I have been contemplating which wall I would use as a design wall.  I finally made a decision and my husband went out a couple of weeks ago and purchased some rigid foam insulation. Then, this past weekend, we bought the rest of the supplies...duct tape and command strips.  I ordered the flannel design wall fabric (gray with a grid on it--designed by Kaffe Fasset) from Hyggeligt (there is a link in my sidebar) in St. Mary's, Ontario. The fabric got washed, dried and ironed on the weekend so we were all ready to work on assembly by Sunday night. We actually worked on this for two evenings--Sunday and Monday.

First, we measured the height of the wall--in my case--81" from the top of the baseboard to the ceiling.   I used a utility knife and a drywall T ruler to cut the insulation to the right height.  I used 4 two feet wide pieces of 1" thick insulation.

We used duct tape to put two boards together to make two 4' wide sections.  We taped the seam on both sides of the board.


I had to sew a seam down the middle of the fabric and then cut it into two sections--one for each section of the design wall. There was 2-3 inches of fabric to wrap around to the back of the insulation on all sides.   We used duct tape to tape the fabric to the board.  We taped the bottom first and then stretched it and taped the top followed by the sides.  We tried to keep the lines on the grid straight on the sides and top of the design wall as we taped it.

You can see the seam in the middle of the design wall.  This is the first finished section before we hung it on the wall.


We had to cut a hole in the second section for an electrical outlet. We cut the hole before taping the fabric to the insulation. I cut an "X" in the fabric where the hole was and used duct tape to tape each part of the X to the back of the hole.


We hung the section with the hole in it first to make sure everything lined up properly.  The bottom edge of the design wall rests on the top of the baseboard.


I did not want to use anything that would damage the wall.  The hardware store had these nifty hook tape command strips by 3M --I purchased 4 packages.


 It took me a while to figure out that I needed to take two strips and book them together like this to make this work for the design wall.


I scrunched them together and took the paper off one side so I could stick it to the back of the design wall.


There are four of these across the top and three across the middle and bottom of each section.  We carefully leaned the bottom of the section along the top of the baseboard and once we were sure we had lined everything up properly, pressed it to the wall to get it to stick.

It worked!  And, if I ever have to take the design wall down, there should not be any damage to the wall or the paint.


It did not take me long to start adding projects to the wall and put it to good use...
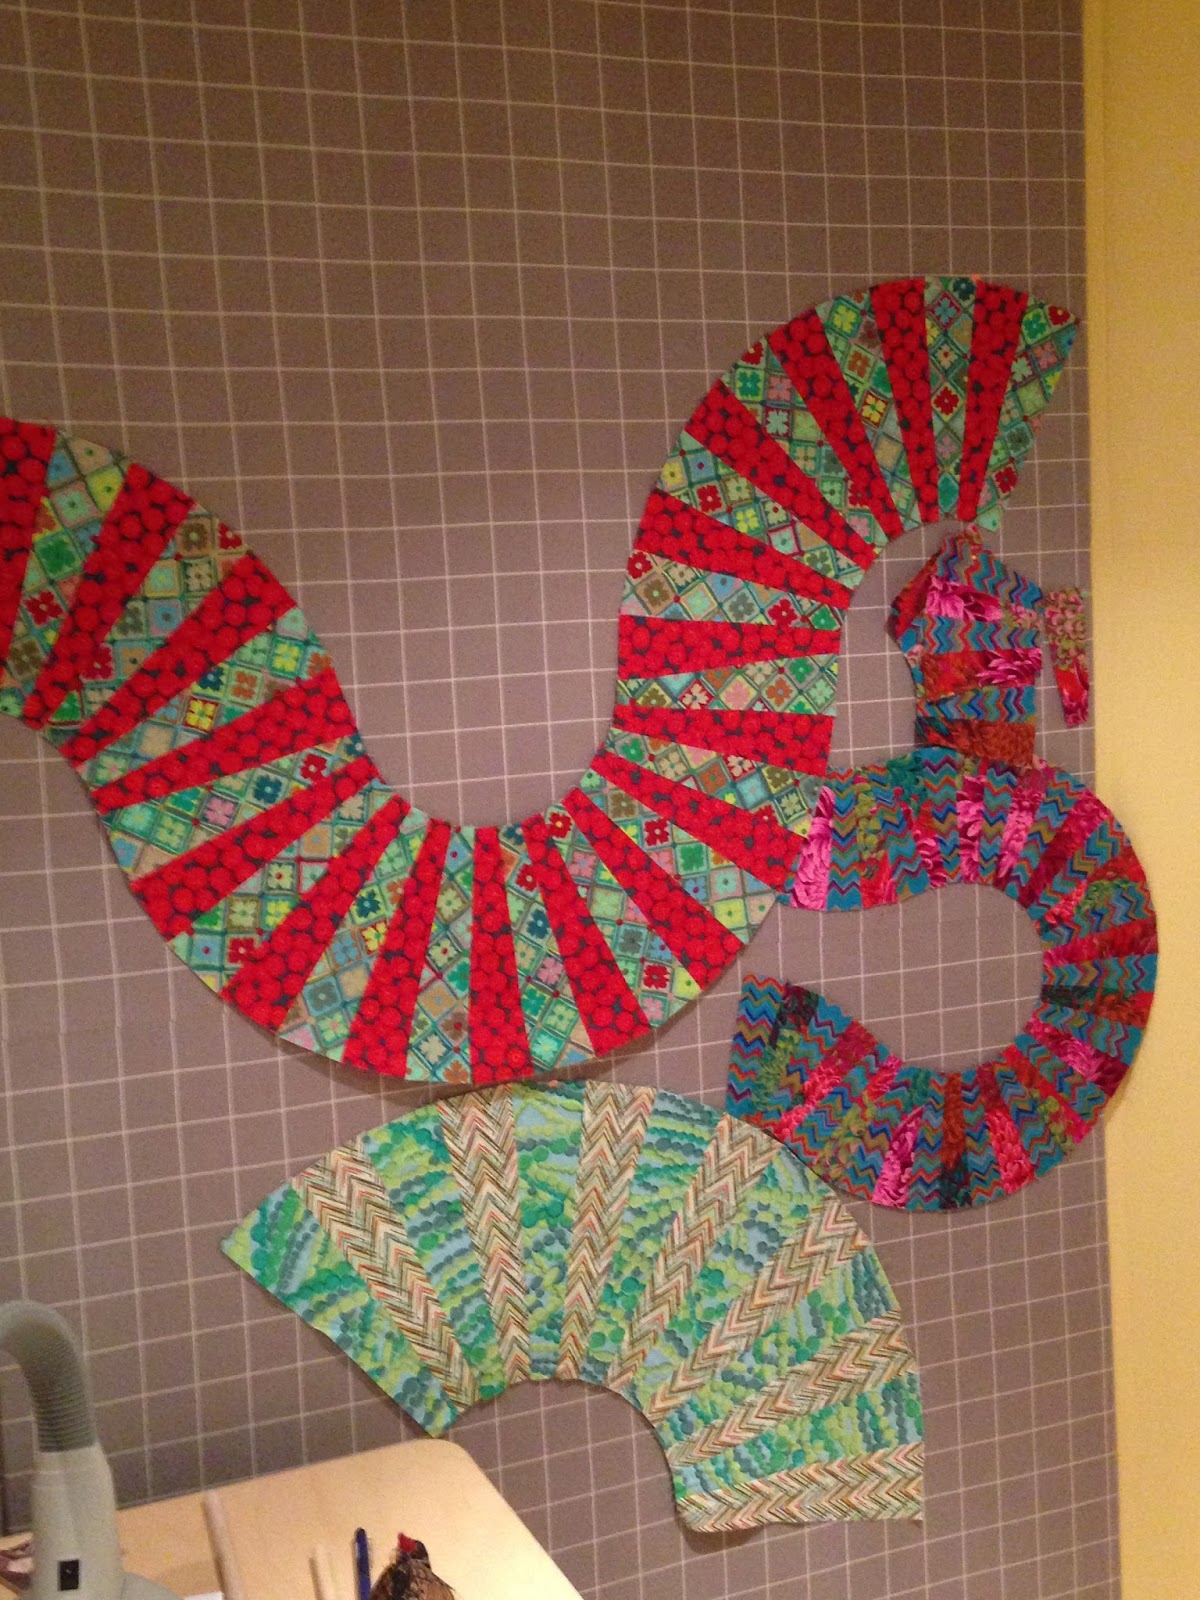

This project is from a workshop I did 2 or 3 years ago with Kathy Doughty (from Material Obsession in Australia).  I need to rearrange the pieces and make a background.  I want to get this UFO done but needed a design wall to get it all laid out.  No excuses now for not getting it done!


I am just thrilled with my new design wall and can't wait to get sewing and add more blocks to the wall.

I also hung up my Mexican Stars quilt and a counted cross stitch picture I made years ago in my sewing room.  I have a few more quilts to hang up in there too but they need hanging sleeves.  I will post more pictures as I get them hung up.

Now...off to sew!!!

Monday, September 10, 2012

Mexican Stars DONE!


I finished sewing the binding on my Mexican Stars wall hanging tonight so I can take it for Show and Tell at the guild meeting later this week. Christine and I are co-ordinating a mystery quilt for our guild this year so we got together last week to get all of the instructions ready. We will be signing people up for the mystery at this week's meeting. I am looking forward to seeing everyone again!

I also spent some time cutting the pieces for my last 4 Great Granny Square blocks...


And my last 3 Swoon blocks...


I am hoping for some sewing time later this week to get these last few blocks sew together so I can assemble these quilts.

It is time for some shut eye.

Bye for now.

Friday, July 6, 2012

Progress towards some finishes...

My tumbler quilt is nearly done...
I added the orange (Kona Tangerine) outer border to this quilt top earlier this week and took it to my long arm quilters. He quilted it with hearts and stars and today, I picked it up. Tonight, I made the binding and got most of it hand sewn down...

My husband and quilt holder extraordinaire held it up for a picture before I did any hand sewing on the binding...


I wanted to take this picture outside and it might rain tomorrow, so it had to be done tonight. While watching a bit of TV (a show about quilts on PBS that my husband had recorded earlier in the week) tonight, I hand sewed the binding 3/4 of the way around the quilt before I got too tired to sew.

The binding is striped and the same material also shows up in some of the tumblers. I had hoped to deliver this quilt to my friend this weekend but she won't be home. I will try to deliver it one evening next week. My friend is having a rough patch health-wise and could use a warm hug and a reminder that I am thinking of her.

Christine and I got together earlier this week for an evening of sewing and visiting...  We both worked on our Mexican Stars wall-hangings...

I worked on finishing off the curved bits...

I love how the curves add movement to the design...

I have one more border to add and then I will be ready to take this one off to the quilter's house for some curvy quilting to accent the stars.

Christine made great progress on her wall-hanging too.

I saw Karen's finished flimsy earlier today as well and it looks great. Our guild, the London Friendship Quilters' Guild has a quilt show this fall and these wall hangings will all be there!

I also finished off the last border on my mystery quilt. I think I would like the finished quilt to be a bit bigger so I am trying to figure out an extra border to add using the material that I have leftover from the fat quarter bundle I have been using. I can't wait to show off this flannel quilt but that will have to wait until the Sept meeting of the guild when everyone who participated in the mystery quilt will be revealing their projects. I will be having this quilt quilted before the end of the summer as well.

I am trying hard to finish off some UFO's before I dig into another scrappy quilt with thousands of pieces...I am finding it hard to resist the scrappy quilt magnet!  Soon!  Soon!

Thursday, June 28, 2012

Mexican Stars Class--Part 2

Tonight, I went to my second and last Mexican Stars class at Pat's house. It was fun to see everyone's blocks coming together.

The fabric and colour choices made each block really sing, and each one sang a different song!

Seeing the colours that everyone used makes me want to make a second Mexican Stars wall hanging...

This is one of my corner blocks with the curves completed.

At the end of the evening, I had all my blocks together and took it home to add the stitching to make the curves.

Here are some of Christine's blocks:

And Karen's...


And last, but not least, here are Beth's:
I hope I have a chance to see each wall hanging when they are done!

Sunday, June 24, 2012

Mexican Stars and some Rubber Chickens

I made this rubber chicken pillowcase for my husband for Father's Day. He has a rubber chicken that Santa gave him in his Christmas stocking one year. The rubber chicken has been on vacation with us a few times and has had his picture taken in many exotic locales...  These pictures were taken at Bouctouche Beach in New Brunswick. The rubber chicken had a travelling companion...Nutty the Squirrel, a beanie baby.


On Thursday night, Karen, Christine and I took a class to make a Mexican Stars wall hanging from my friend Pat. I finished off my homework yesterday and I am ready for the 2nd and last class this week. I am using batiks for my project.


I also made a bit of progress on my orange and yellow tumbler quilt. All the pieces are arranged and ready to sew together. It might rain this afternoon so I will try to get these put together.


My husband and I spent a few hours mulching all of our gardens yesterday--what a job!  Mulch mountain (4 cubic yards!) is no longer in our driveway! The gardens look great and now there will be less weeding to do. Here are a few pictures of what's blooming this week.

Echinacea
Orange Echinacea
Karl Forrester Reed Grass
Echinacea
While we ate supper, this robin worked on finishing off this nest on our light fixture at the back of the house. She kept making trips out to get more mud and then came back to add it to the nest. She did this funny vibrating dance in the nest to pat it down. We have had lots of nests before but this is the first time we have had one on this light fixture.