Showing posts with label workshops. Show all posts

Monday, April 15, 2019

Sewing with Strings

Last Friday marked one year since my Dad died.  I had signed up for a quilting workshop with Mary Elizabeth Kinch, author of "Small Pieces, Spectacular Quilts" a few months ago and decided I would use my Dad's shirts for my project.  Mary Elizabeth spoke at our London Friendship Guild meeting on Thursday night and we had a great trunk show of her quilts, including the workshop quilt, "Go with the Flow". 


I met Mary Elizabeth several years ago at Gwen Marston's Beaver Island Quilt retreat in Elk Rapids, Michigan.  It was fun to see her again and catch up.


After some discussion about string quilts in general and different ways to make them, we cut into our fabrics and started sewing the strings together.   Mary Elizabeth also showed us pictures of several antique and newer string quilts.  Here is her "Go with the Flow" quilt.


By lunch time, everyone had made at least one row of strings.


Here are my two rows, not pressed yet


Two more, pressed and ready to trim.


Tonight, I made a couple more rows and then made my first block of the 16 needed to make this queen sized quilt. 


As I sewed, I thought about my Dad and the times that he wore these shirts.   Dad loved to stop at Shaw's Ice Cream for a Black Cherry Cone so my husband and went there on the weekend. 


It seemed like a fitting thing to do. 

Sunday, November 19, 2017

My Thread Stash and a Finish

Back in August, I took a two day design workshop with Jacquie Gering.  You can read my blogpost about the workshop here. 

If you went back to the post, you would have read that I had the quilt pin basted shortly after the workshop--I just needed to find the right colour of thread.  I had lots of colours in my thread stash, but not the right colour. (Here is a picture of my thread drawer--the colour I used in the quilt is in the picture.)


Jacquie had suggested a lighter colour of thread for the quilting of this project and I did not have any suitable colours in my thread drawer.  Every time I was in a sewing store, I checked to see if they had Aurifil thread and if they did, I searched for a light colour that would work for my quilt.  Finally, I found this light peach colour.  This was one of the colours that Jacquie had suggested. 


I have saved my empty spooks in a basket in my sewing room for several years.  You can see that I have gone used lots of thread since I started sawing the spools.  Each orange spool represents a kilometre of thread--half a kilometre of sewing if you consider that half the thread gets used in the bobbin. 


Now, back to my quilt...

I used a quilting idea from Jacquie's book "Walk".  If you don't already have this wonderful book, go out and buy it or drop subtle hints to Santa...  I used my Hera marker to draw two gently curved lines diagonally across my quilt, intersecting them in the centre. Then, I echo quilted each quadrant, using the edge of my presser foot as my guide. 


The lines of quilting are 3/8" apart  and by the time I finished all of the quilting, the quilt would not lay flat.  Jacquie had told us about how she blocks her quilts by spraying them with water and stretching them out to flatten them after quilting and before trimming and binding.  I decided to give this a try, but first I had to buy a clean spray bottle.  This took a while because I kept forgetting to look for a bottle when I was at a hardware store.  Finally, my husband picked one up for me when he was out one day.  I sprayed my quilt, stretched it out and pinned it to the carpet in my family room.  I sprayed it one more time and left it to dry overnight.  In the morning, it was flat!!!  I trimmed it and made binding with some navy fabric leftover from making the quilt.


This week, I sewing the binding on first by machine and then finished it off by hand last night.


I had this bicycle print in my stash and since the front of the quilt spins, I thought it was appropriate.


Here is a close up of the quilting.


And... here is the finished quilt:


When I first made the label, I called this quilt "clockwise"...then, I realized that it if actually spinning counter clockwise, so I had to change the label to reflect this name change.

I will be linking up with Kathy and the other slow stitchers.  Go and take a look at what everyone is up to. I hope to have some more hand stitching time later today.

Saturday, September 16, 2017

Libs Elliott Class: Embracing the Chaos

Last Saturday, the London Modern Quilt Guild hosted Libs Elliott to teach an "Embracing the Chaos" workshop.  I signed up for this workshop months ago, but of course waited until the night before the shop in my stash for suitable fabrics and gather my supplies.  I needed to find around 10 co-ordinating fat quarters --I started with the fabric in the middle of this photo and added the other fabrics to the pile.  I ended up using the chartreuse fabric on the upper right but not the yellow on the upper left. 


Some of these fabrics have been in my stash for a while and a couple were recent additions.

Libs told us about how she designs her quilts using a grid and a randomizer on her computer to place pre-chosen blocks into the grid.

She brought along three quilts to show us and we spent quite a bit of time examining them and asking questions about how she chose her fabrics, colours and how she put the blocks together to make her quilts.


She recently was asked by Absolut vodka to design a special label for their Canada 150 bottles.  Several of the quilters brought along their bottles for her to sign.  (All bottles remained sealed during the workshop!)

Some people used pencil crayons to colour their designs before cutting into their fabrics but I jumped into using fabric and picked the fabrics as I went along making the blocks.


By the end of the day, I had all my blocks pieced except one. I pinned my rows together and labeled them so that I would be able to lay them out when I got home.


Earlier this week, I put my last block together and sewed all the blocks into a 30 by 30" flimsy.  I have picked out some thread for quilting and just need to get this top pin basted and quilted.  I will do another post when it is done.  This was a fun workshop and I would recommend taking a class with Libs if you ever get a chance.


Wednesday, August 23, 2017

Design Workshop with Jacquie Gering


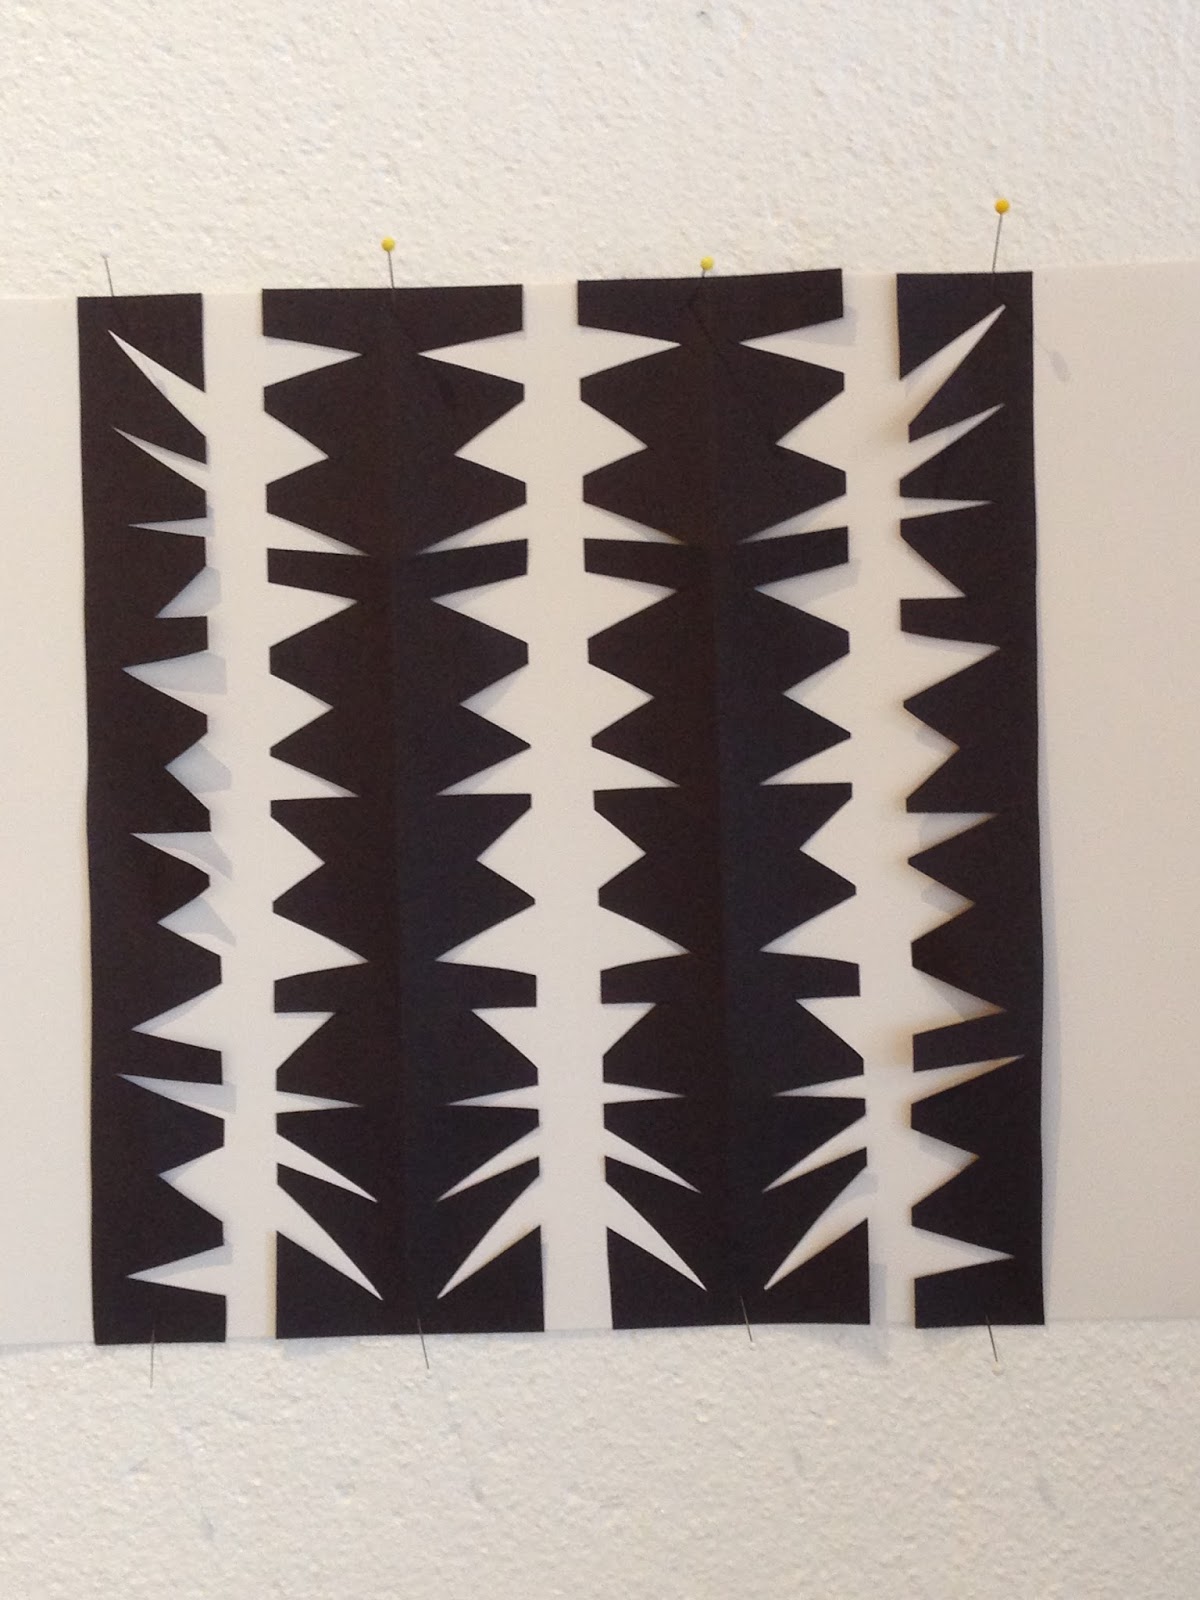
I spent three days in workshops with Jacquie Gering last week.  You can read about the first workshop here.  The second workshop was two days of learning to design the Jacquie Gering way!  We were told we would not need our sewing machines until Day 2!  We spend much of the first day using paper and scissors to experiment with achieving "exchange" (balance, harmony...) in our paper designs.  My first attempt is shown above and I got a gold star from Jacquie for this one!  My second attempt was not even worthy of a picture before it landed in the trash can!  I made two more--


By lunch time, we had lots of ideas up on the design wall on one side of the room.


Next, we looked at some of Jacquie's quilts and discussed the designs, some of which she loved and others that she did not love.  We talked about ways that some of them could have been designed differently to create different looks.

Our design challenge for the rest of the afternoon was to play with some paper blocks that Jacquie gave to us to create more quilt designs.  I could not believe the number of possibilities that the participants came up with in this exercise!  Here are a few of my designs.


On the second day, we discussed moving from paper or craft-foam designs to fabric.  I decided to skip the mock up of my design idea on using craft foam and moved straight to fabric.  I make 18 liberated drunkard's path units and started playing with placement on the design wall.

I have done a lot of garment sewing in my life so a few curved seams did not faze me.

At first, my blocks were too big so I ended up cutting them down to a smaller size and playing some more.


Jacquie and I played with this 16 patch design for quite a while, moving pieces here and there and trying to find a pleasing design.  After a while, she left to work with someone else.  I stared at what I had on the design wall and all I could see was the curved arrow on the upper right corner.   I then came up with this idea...

Others in the room, including Jacquie, concurred and after a bit of tweaking, this became my final design.   I sewed the blocks together and had my top together before the end of the day.


This was a fun and challenging workshop with ideas that will continue to influence the quilts that I make for a long time!  I already have my quilt basted and ready to quilt.  The quilting pattern is already chosen. I just need to find the right colour of thread...

Thanks again, Jacquie, for an amazing three days!

Saturday, April 30, 2016

UFO out of the bag and on the WALL!!

This is what happens when a project sits in a bag, pinned to a piece of flannel for almost two years.  In the Spring of 2014, Jacquie Gering came to the London Friendship Quilter's guild as our speaker and workshop leader.  I went to the Stitch and Flip workshop and came home full of enthusiasm for my new project!  I had pinned all of the squares to the flannel design wall and carefully rolled it up so I would not lose any pieces or where they were supposed to go in the quilt.

 This week, after careful aging (LOL) of this project,  I laid the flannel out on the floor outside my sewing room and carefully took two squares off at a time to press them and place them on my design wall. There were a lot of squares on my piece of flannel so this took most of one evening!


I cut out some more squares for the background (they are 3.5" squares, in case you were wondering)


Before I added the background squares, this is how it looked.

When Christine was here this past week for our sewing night, I added leaves to the stems and stems to the purple flowers. I also made one more purple flower.


My garden needed some butterflies!  This is how my design wall looks now.  I am ready to sew all of the squares together. It will be challenging to keep everything going the right way and in the right order.  I will keep my seam ripper close by,  just in case.
 
Speaking of gardens, I have a few flowers growing in mine...
 
 
Rhododendrons.
 
 
These are the buds for the yellow flowers on my Oregon Grape Holly bush.


I will post a picture when my quilted garden is put together!

Saturday, January 16, 2016

Liberated Baskets Workshop

Today, I taught a liberated baskets workshop for a group of 8 quilters from the London Friendship Quilters' Guild. My friend, Christine, was there to help out as well. We started with a short discussion about Liberated Quilting and Christine and I talked about attending the Beaver Island Quilt Retreats where we were converted to liberated quilt making by Gwen Marston. (This is a quilt that Christine, Carol and I made for Gwen and gave to her at the final BIQR in 2013.--note the centre of the quilt is a liberated string basket!)


We started by learning how to make a simple liberated basket with a machine appliqued bias handle. 
 
Here is Maureen with her basket:
 
 
You can't tell from the picture, but Anne made all of her baskets mini sized. 
 
 
This is Lynsey's basket:
 
 
Striped fabrics are fun for the handles.


After everyone had made one basket, we got back together to talk about the endless possibilities for liberated basket blocks.  I showed lots of pictures of quilts from Gwen Marston's books of Gwen's and other quilters' basket quilts. Then, the magic happened.  Everyone got it!  Dozens of interesting and creative baskets emerged from the sewing machines around the room.
 
A flower pot basket by Anne:


A two handled purse by Pam:
 
 
Mary's Oriental Fabric purse:
 
 
Anne's double handled basket:
 
 
Lorraine's aqua basket on a wild background:
 
At the end of the day, we talked about how to put the blocks together--the blocks were not made all the same size. Each quilter had a chance to show off their blocks.
 
Anne's mini baskets--note that one fell over! She also made a pile of three baskets.
 
 
Lynsey's baskets (she is thinking of embroidering some flowers on the middle white piece.): 
 
Pam's baskets (the top left one is a clutch with a little bow on the top edge.):
 
Christine's blue Civil War fabric baskets:
 
 
Edith's Easter Baskets:
 
 
Susan's baskets (I love the orange handle on the blue basket!):
 
Lorraine's baskets (Love the stripes!)
 
 
Mary's Oriental Purses with fun handles:


Maureen used Wonder Under and machine blanket stitch for her handles. 
 
 
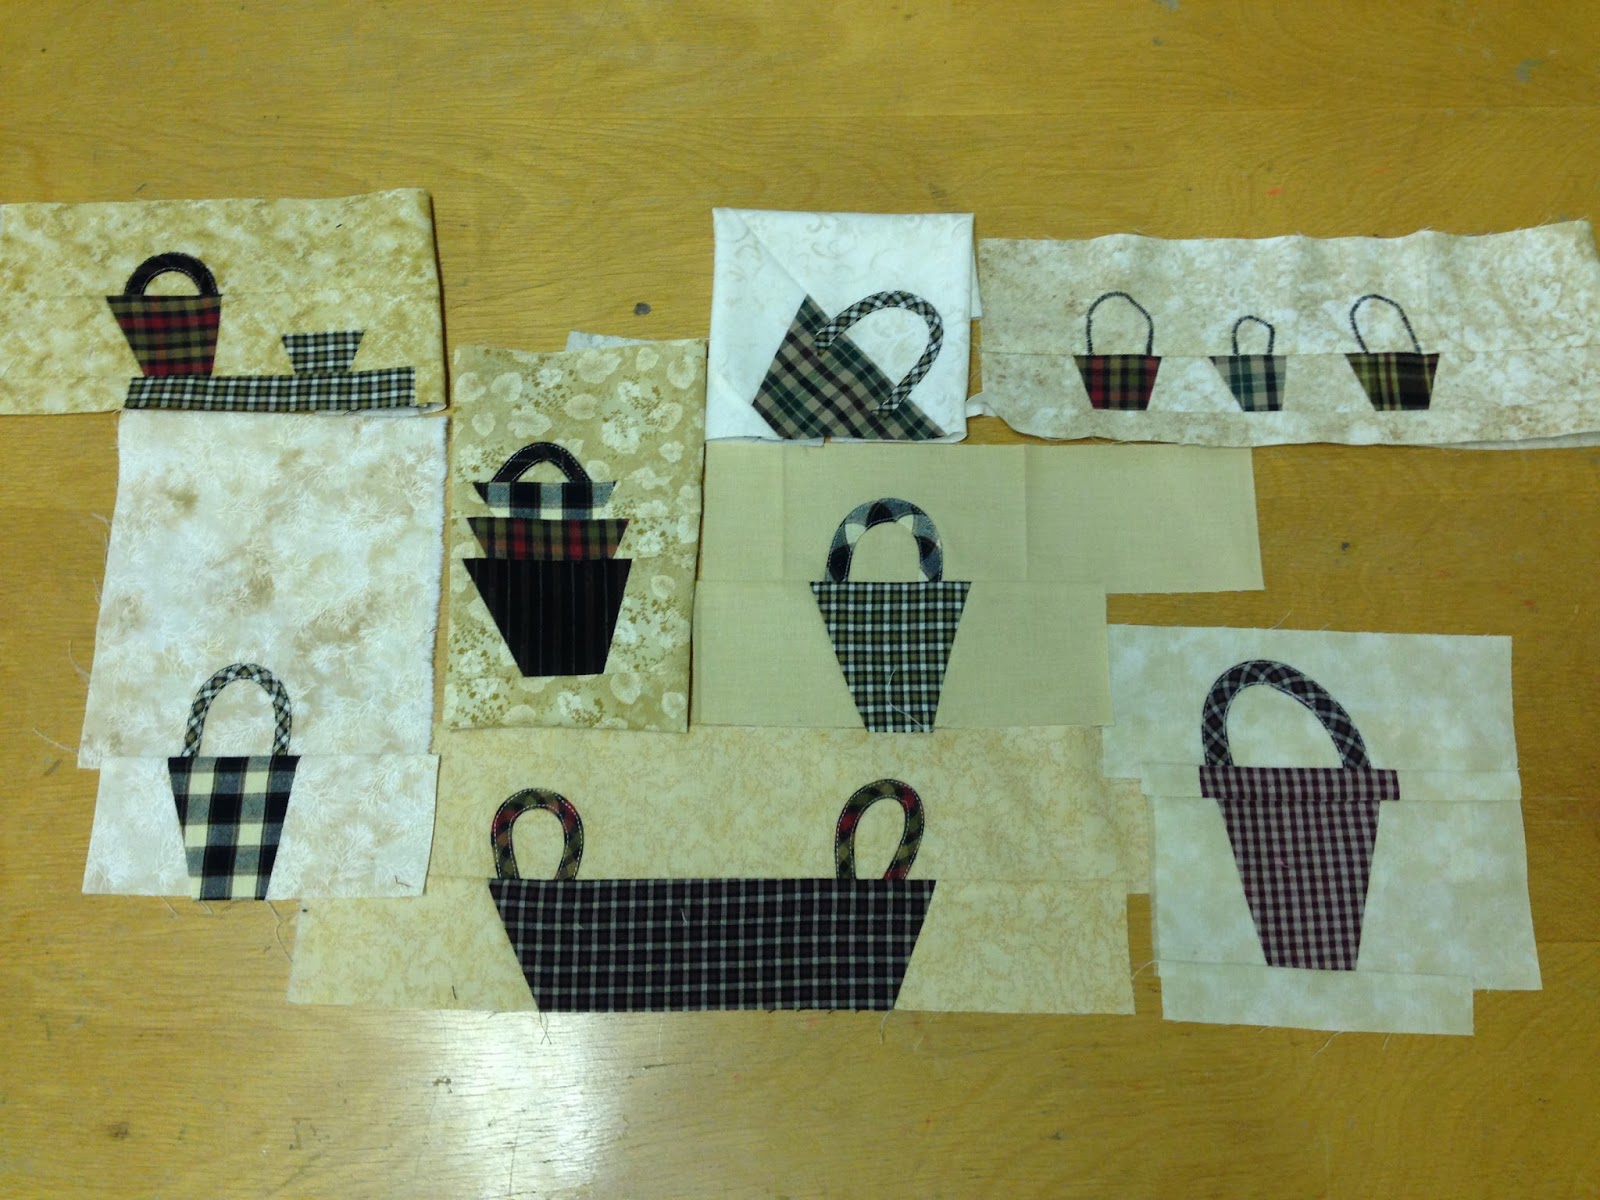
These are my baskets.  I am making a liberated basket sampler. 
 
 
I have another block started but not done yet.  This one will have flowers of some sort on the ends of the stems and I will likely add some leaves as well.
 
 
It was a great day. I was pleased that everyone went outside their usual style and embraced liberated quilt making for the day.