
First, we measured the height of the wall--in my case--81" from the top of the baseboard to the ceiling. I used a utility knife and a drywall T ruler to cut the insulation to the right height. I used 4 two feet wide pieces of 1" thick insulation.


I had to sew a seam down the middle of the fabric and then cut it into two sections--one for each section of the design wall. There was 2-3 inches of fabric to wrap around to the back of the insulation on all sides. We used duct tape to tape the fabric to the board. We taped the bottom first and then stretched it and taped the top followed by the sides. We tried to keep the lines on the grid straight on the sides and top of the design wall as we taped it.


We had to cut a hole in the second section for an electrical outlet. We cut the hole before taping the fabric to the insulation. I cut an "X" in the fabric where the hole was and used duct tape to tape each part of the X to the back of the hole.

We hung the section with the hole in it first to make sure everything lined up properly. The bottom edge of the design wall rests on the top of the baseboard.

I did not want to use anything that would damage the wall. The hardware store had these nifty hook tape command strips by 3M --I purchased 4 packages.

It took me a while to figure out that I needed to take two strips and book them together like this to make this work for the design wall.

I scrunched them together and took the paper off one side so I could stick it to the back of the design wall.

There are four of these across the top and three across the middle and bottom of each section. We carefully leaned the bottom of the section along the top of the baseboard and once we were sure we had lined everything up properly, pressed it to the wall to get it to stick.


It did not take me long to start adding projects to the wall and put it to good use...
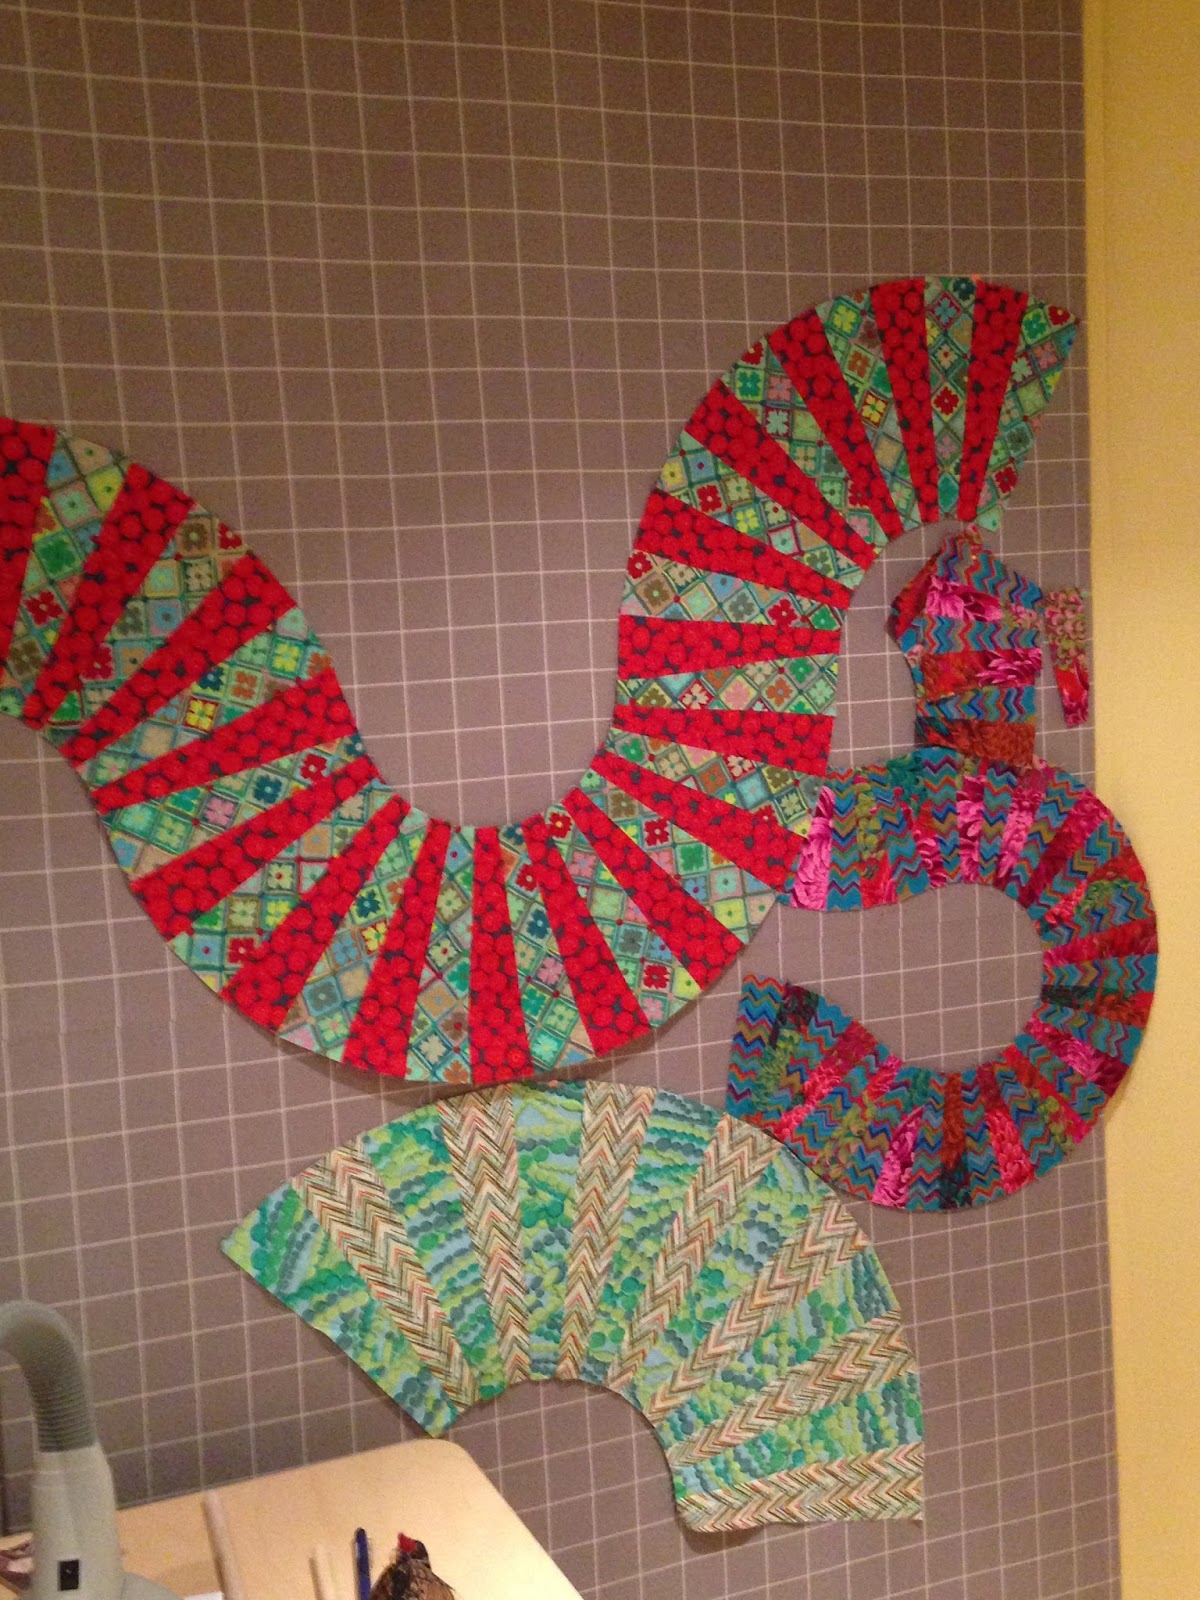
This project is from a workshop I did 2 or 3 years ago with Kathy Doughty (from Material Obsession in Australia). I need to rearrange the pieces and make a background. I want to get this UFO done but needed a design wall to get it all laid out. No excuses now for not getting it done!

I am just thrilled with my new design wall and can't wait to get sewing and add more blocks to the wall.

Now...off to sew!!!
WOW! I wish I had your creativity and enthusiasm. What a great project.
ReplyDeleteMissed you at church on Sunday.
Great design wall. I have the same cross stitch picture hanging in my upstairs sewing room.
ReplyDeleteBy the way, thanks for the scrap vortex idea. I checked out the QAL and may just pursue that to use up some of my scraps!
ReplyDeleteI have only just started using a design wall so can truly appreciate how valuable yours is - and what a wall!! Love the projects that are already up there!
ReplyDeleteWow! I have a good size design wall but mine is made with cotton batting... I'm jealous of your grid! :)
ReplyDeleteBrilliant
ReplyDeleteAwesome design wall. I have the identical flannel waiting to be mounted on insulation board. Thanks for the how to.
ReplyDeleteWow how nice that wall is!
ReplyDeleteMy rooms upstairs have the old sloping ceilings :(
That is one awesome design wall--love it! I didn't know about the grid fabric. I may need to track some down for myself, although it would probably end up in a pile of other things I plan to do someday--lol!
ReplyDelete